Week 5 Tutorial Exercise - Camera Effects
This weeks tutorial involved playing around with two incredibly useful Unity packages: Cinemachine and Post Processing. Cinemachine is an addon that handles camera movement and control in a scene, and has useful function ranging from quick and easy camera following - to complex dolly camera rigs. The Post Processing package adds various camera filters and the ability to stack different effects on top of each other to vastly improve a game's visuals.
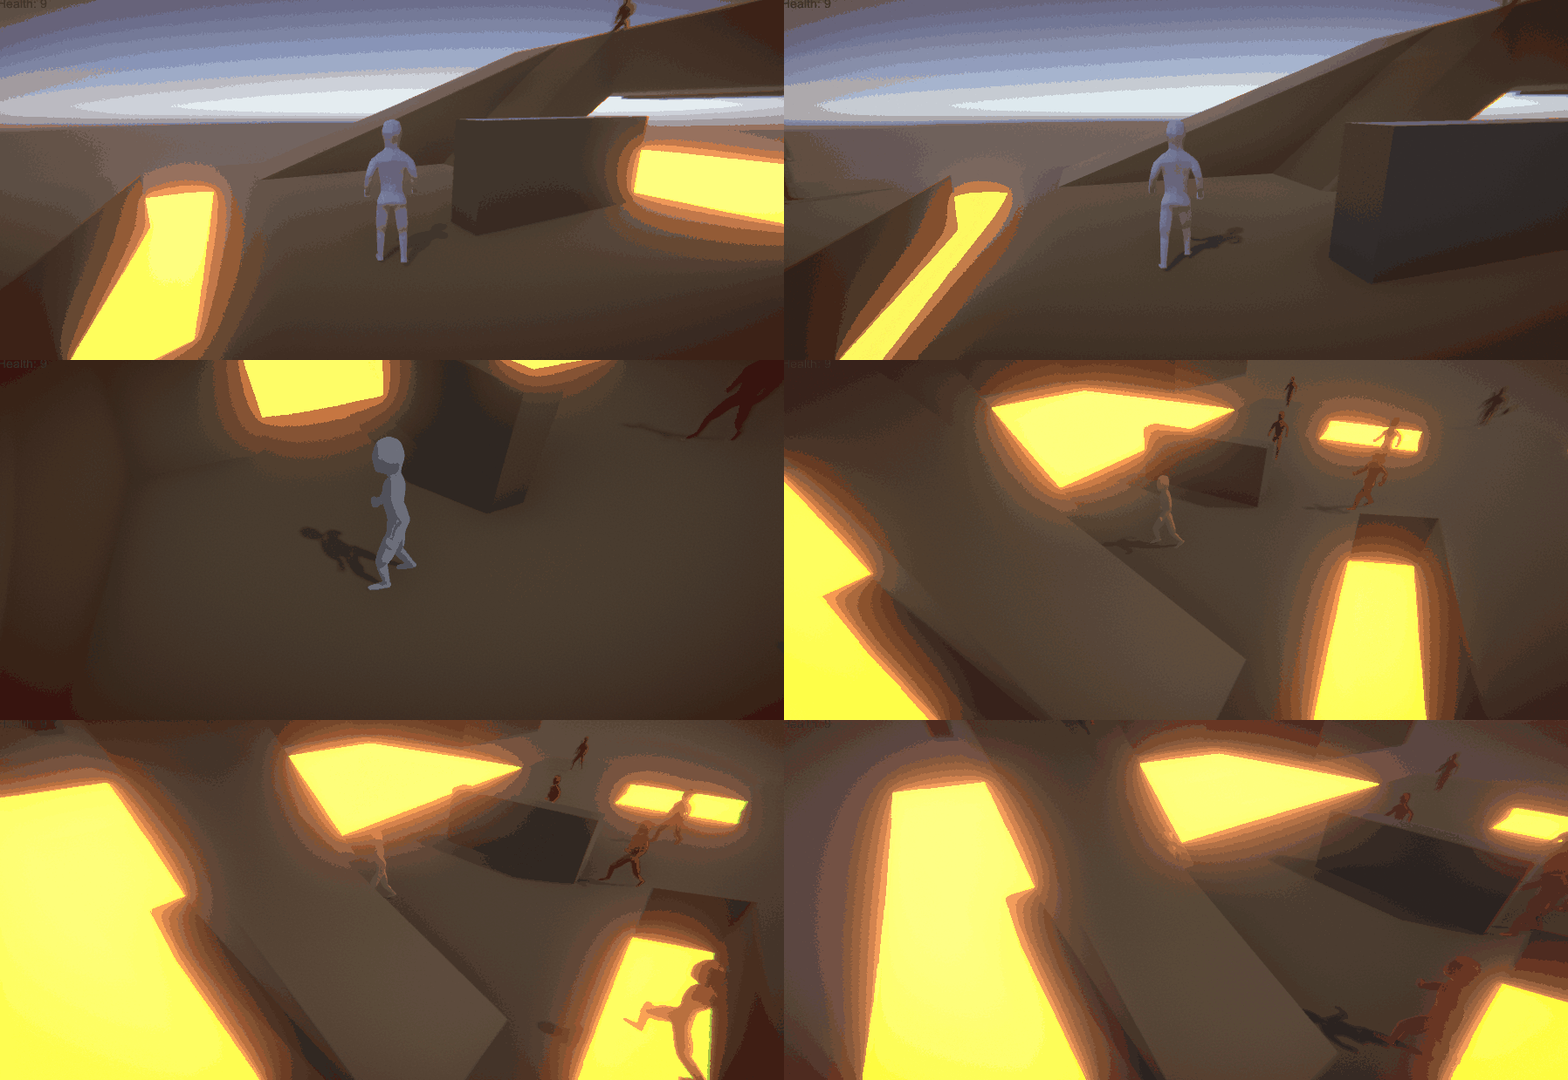
For this exercise, I modified the previous simple game scene to make it more usable for the additions I had planned. Funnily enough, the scene had already been using a Cinemachine camera to add the camera following functionality, as I was already familiar with how to implement that. So instead of re-implementing that functionality, I focused on adding some different camera effects to different parts of the scene. The first was a static camera angle that would be triggered if the player enters a certain area. Here's a quick showcase of this (apologies for the poor quality, Post Processing and GIFs don't seem to go hand-in-hand):

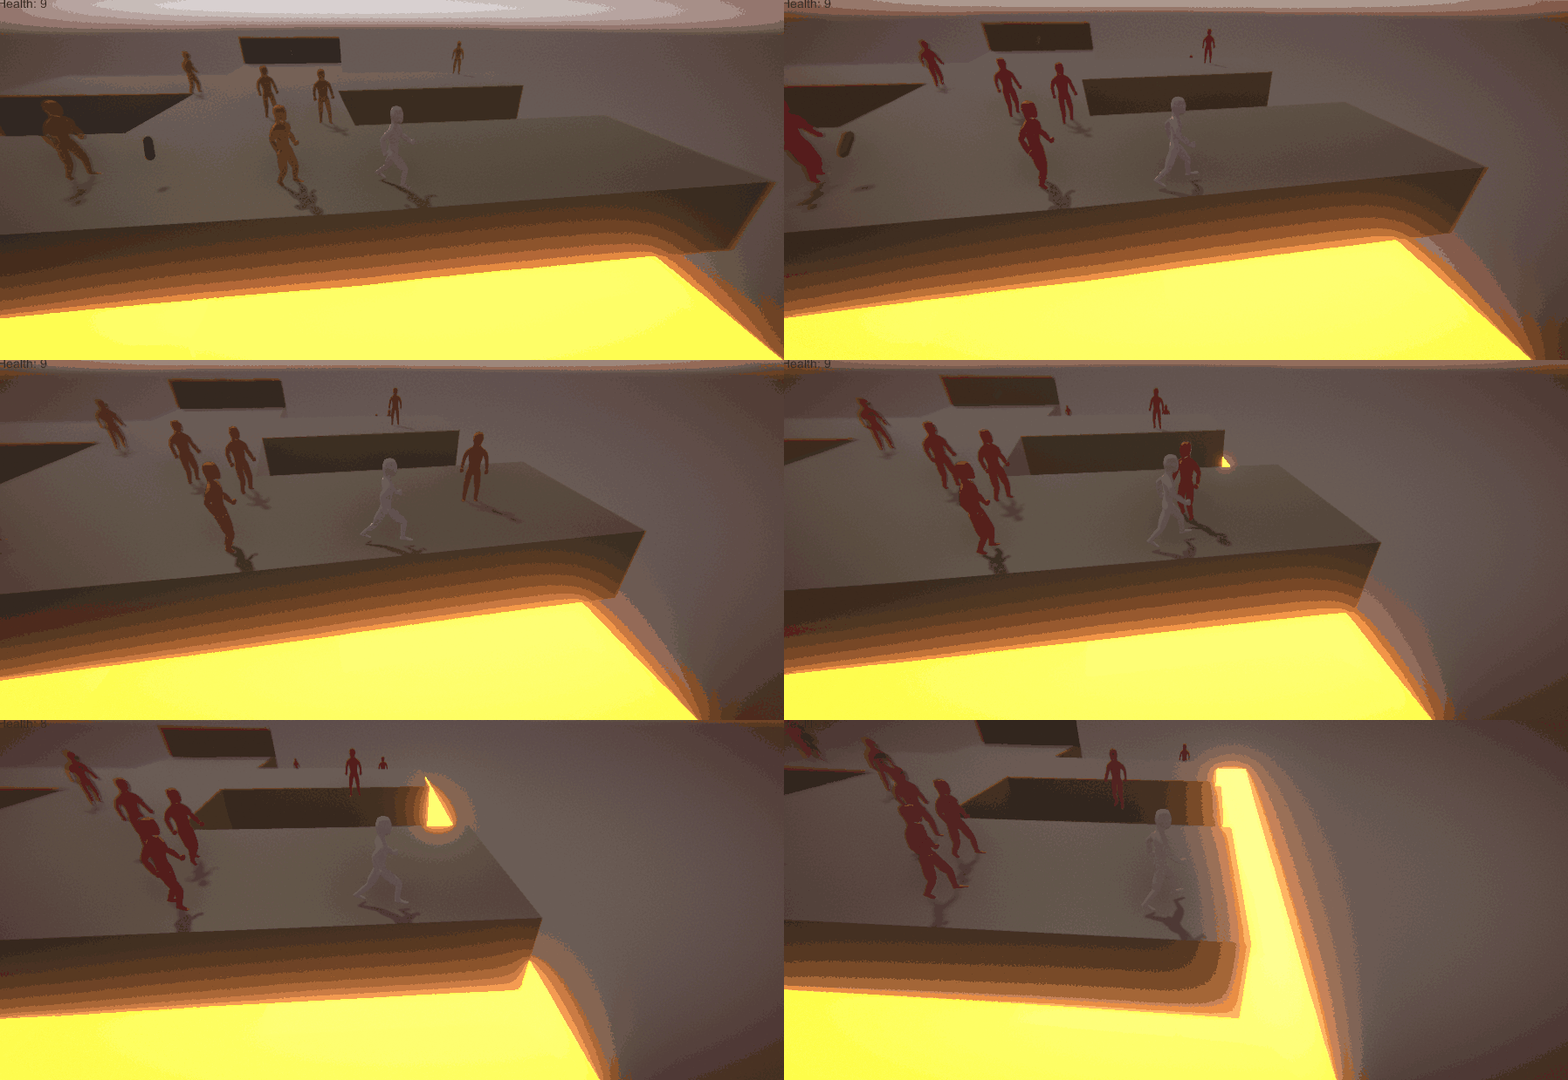
The second camera effect I experimented with was a dolly camera, hooked up to a track around one corner of the level. For this one, it's a little harder to tell the camera is moving along the track, however this could be expanded to encompass the entire level if so desired.

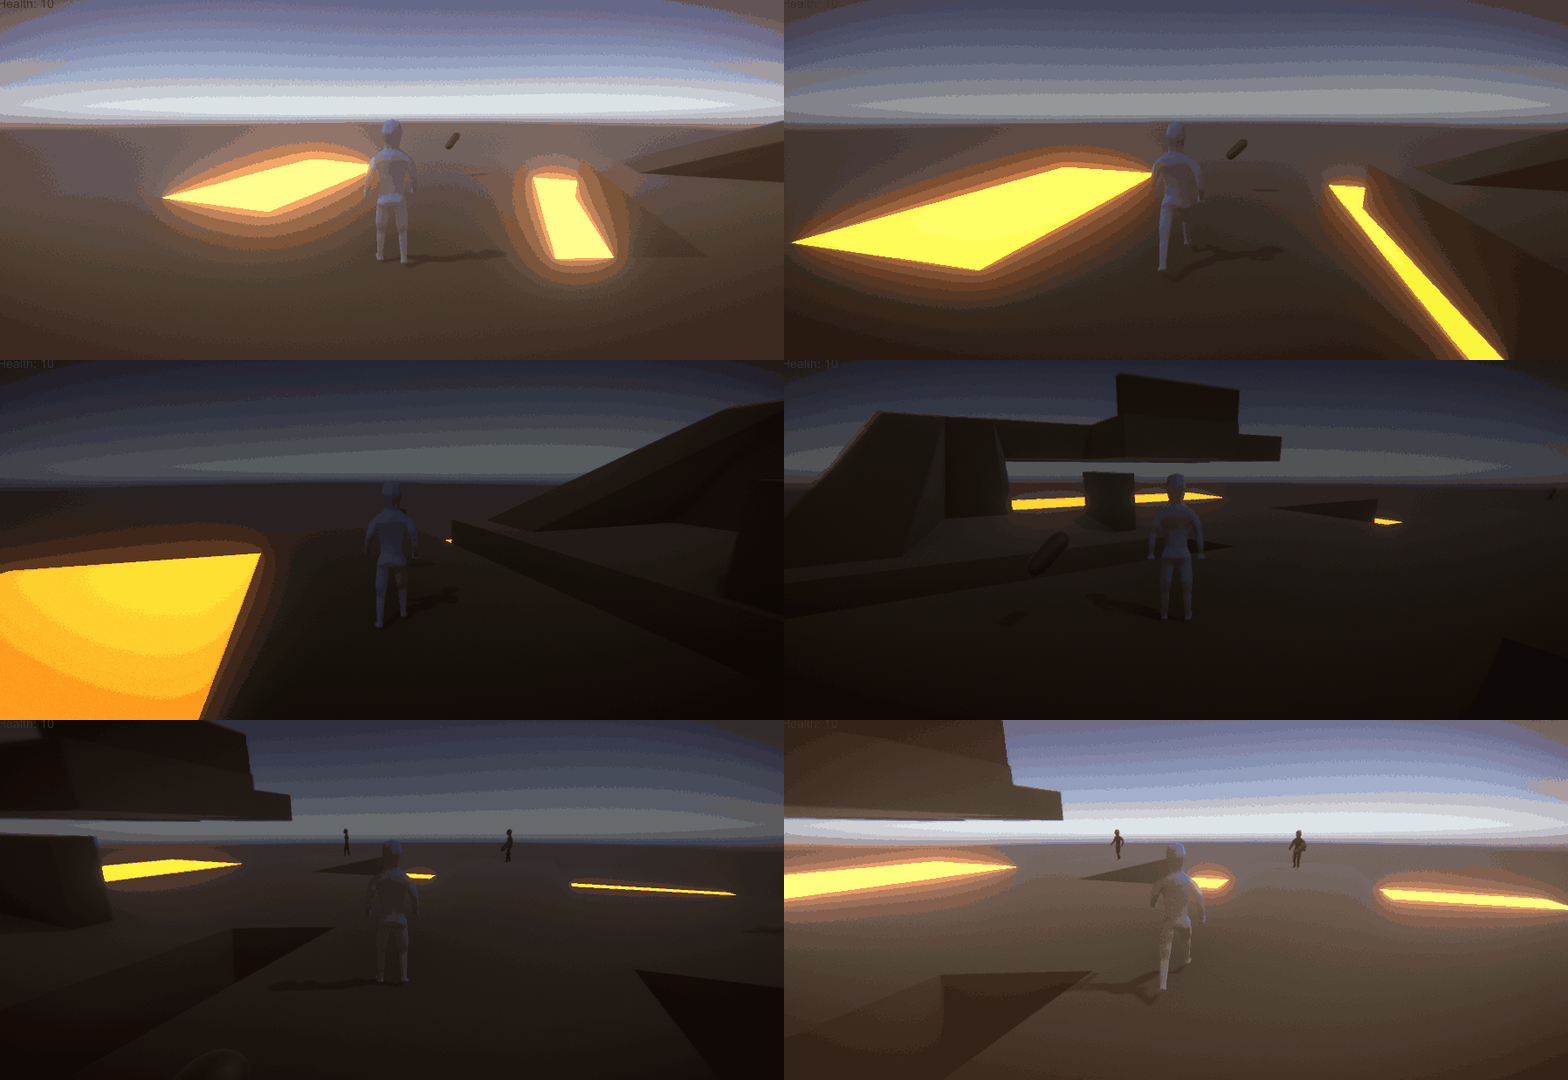
As for the post processing, you could probably see most of it in action from the previous animations. The different effects I added to the camera were: Vignette (slightly dark red around the edges), Bloom (makes the lava appear to glow), Chromatic Aberration (barely noticable distortion around the edges of objects), Lens Distortion (makes the edges of the screen appear slightly rounded), Ambient Occlusion (adds self-shadowing in the corners of objects), and Grain (for an old-timey film kind of look). In addition, In one area of the map I added a trigger that layers on an additional effect, which in this case was Colour Correction, making the scene appear darker. Here's an animation showing the Post Processing Volume adding the darkening effect to the camera:

This is the last of the posts about my individual portfolio of work. The next posts here will showcase some of the work I'll be doing on my group project. Looking forward to sharing more on that soon!
UTAS KIT207 Portfolio
A portfolio of all my work during the KIT207 unit at my university.
| Status | In development |
| Category | Other |
| Author | Balin P |
More posts
- Week 5 - LightingAug 17, 2021
- Week 4 - Simple Game using Unity AIAug 10, 2021
- Game Ideas! - Bullet Time and Bug, Out!Aug 09, 2021
- Week 4 Tutorial Exercise - Raycasting and Unity AIAug 09, 2021
- Week 3 - Tasmanian Tourist SceneAug 03, 2021
- Week 3 Tutorial Exercise - Blender Animations in UnityAug 02, 2021
- Week 2 - Animation and Character RiggingJul 26, 2021
- Week 2 Tutorial Exercise - Blender and UnityJul 25, 2021
- Week 1 - Initial Blender PracticeJul 20, 2021
Leave a comment
Log in with itch.io to leave a comment.